Framing a room with woodworking design software.
Every week someone surprises me with the type of application they make with our woodworking design software. I received an email from a user asking an important question – and in that pointing out several techniques.
His question had to do with using standard assemblies to make copies of walls throughout the project. He has multiple assemblies – different walls in another room in the basement. He made one assembly (a wall) standard and tried to insert that wall into the second room. The issue is that assemblies cannot (at this time) be rotated in a project.

So the standard wall was going in the wrong direction. It is a little like the orientation of the board was at 90 degrees of what was wanted. The quick solution is to make a standard of a wall with the same orientation as he wanted and insert that.
Another solution – which illustrates methods of using the clone and space feature of our woodworking design software – is to create a new wall, insert a board, and clone and space many boards at equal distances with one command. It only takes minutes to create the entire wall.
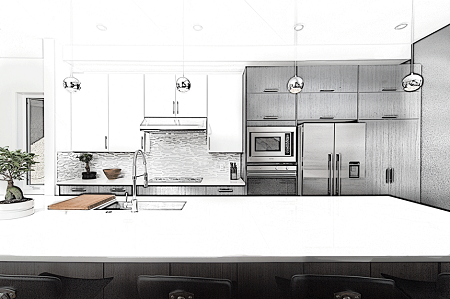
The project shows the versatility of SketchList 3D versus furniture or cabinet design software offerings. SketchList 3D allows you to design from the board level using whatever material (studs, stone, glass, metal). By working form the board level you can design a project to meet your needs.
David Rozewski
SketchList began out of frustration with other CAD programs not meeting the woodworkers needs. Initially marketed to hobby users, the vast percentage of our users turned out to be professionals. Our goal is to make powerful design software for woodworkers and will improve their work and their businesses.